Substrate & safety
How to seal a reptile enclosure
Sealing is a system with an order, not a product you pick. Panels first, seams last, and the cure clock runs from the final coat - not from the day it stopped feeling tacky.
By Brijon M.Last updated
Seal in this order: sand and dust the bare surface, coat the panels with a two-part epoxy rated above your basking temperature, let that cure, then run 100% silicone with no mildewcide into the seams and corners, and only then start the full cure clock. The animal goes in after the longest cure time on any product you used - for the Pond Armor epoxy that is up to 7 days - and after the enclosure has been run empty with the heat on and has no smell at all.
Shed & Bask earns a commission from qualifying Amazon purchases made through links on this page. It does not change what we recommend or the order we rank things in. Read the full disclosure.
Why the order matters more than the product
Most sealing failures are sequencing failures. Silicone applied before the panel coating gets coated over, which means the panel product is now bonded to silicone instead of to the substrate and the seam has no flexibility left. Panel coating applied over a dusty surface lifts in sheets six months later. And a cure clock started at the wrong moment is the reason an enclosure that "seemed fine" still smelled of solvent with an animal already inside it.
So think of it as a system with four stages, each of which has to finish before the next begins: prep, panels, seams, cure. The products are the easy part and they are covered in full on non-toxic sealant for a reptile enclosure. This page is the sequence.
Stage 1 - prep
Sand every surface that will take a coating, to a scuff rather than to smooth. Coatings grip texture. Then remove the dust completely - vacuum, then wipe with a clean damp cloth, then let it dry. Sawdust left on plywood is the single most common cause of a coating that lifts.
Fix the joinery before you seal, not after. If the enclosure is wooden and the joints are glued, use an adhesive rated for the job and let that cure first; a sealed enclosure with a moving joint will crack its seal along that joint within a season. Non-toxic adhesives for a reptile enclosure covers the glue choice, and safe wood for a reptile enclosure covers what you should be sealing in the first place.
Stage 2 - the panels
This is the waterproofing layer and it goes on the large flat areas: floor first, then the walls to a height above your deepest substrate plus your water bowl. A two-part epoxy is the right product for a wooden or plywood interior, and the specification that matters is the published service temperature: it must clear your basking surface figure with margin. For a bearded dragon the basking surface runs 108-113 F (42-45 C) surface temperature per the care reference, and the Pond Armor product states a service range of -78 F to 140 F in its own technical information, which clears it.
Two thin coats beat one thick coat, every time. Thick epoxy cures unevenly, holds solvent in the middle and skins over the top, which is exactly how an enclosure ends up smelling for weeks. Follow the manufacturer recoat window rather than your schedule.
The panel layer, for wood or plywood
Pond Armor Pond Shield Non-Toxic Epoxy
A two-part epoxy with a published service temperature of -78 F to 140 F and a stated full cure of up to 7 days - a figure you can plan a build around.
The lower-risk panel layer, for a dry build
Low-VOC Water-Based Acrylic Sealer
A low-VOC water-based acrylic sealer, for a sealed interior where nothing is submerged and the humidity load is modest.
Stage 3 - the seams
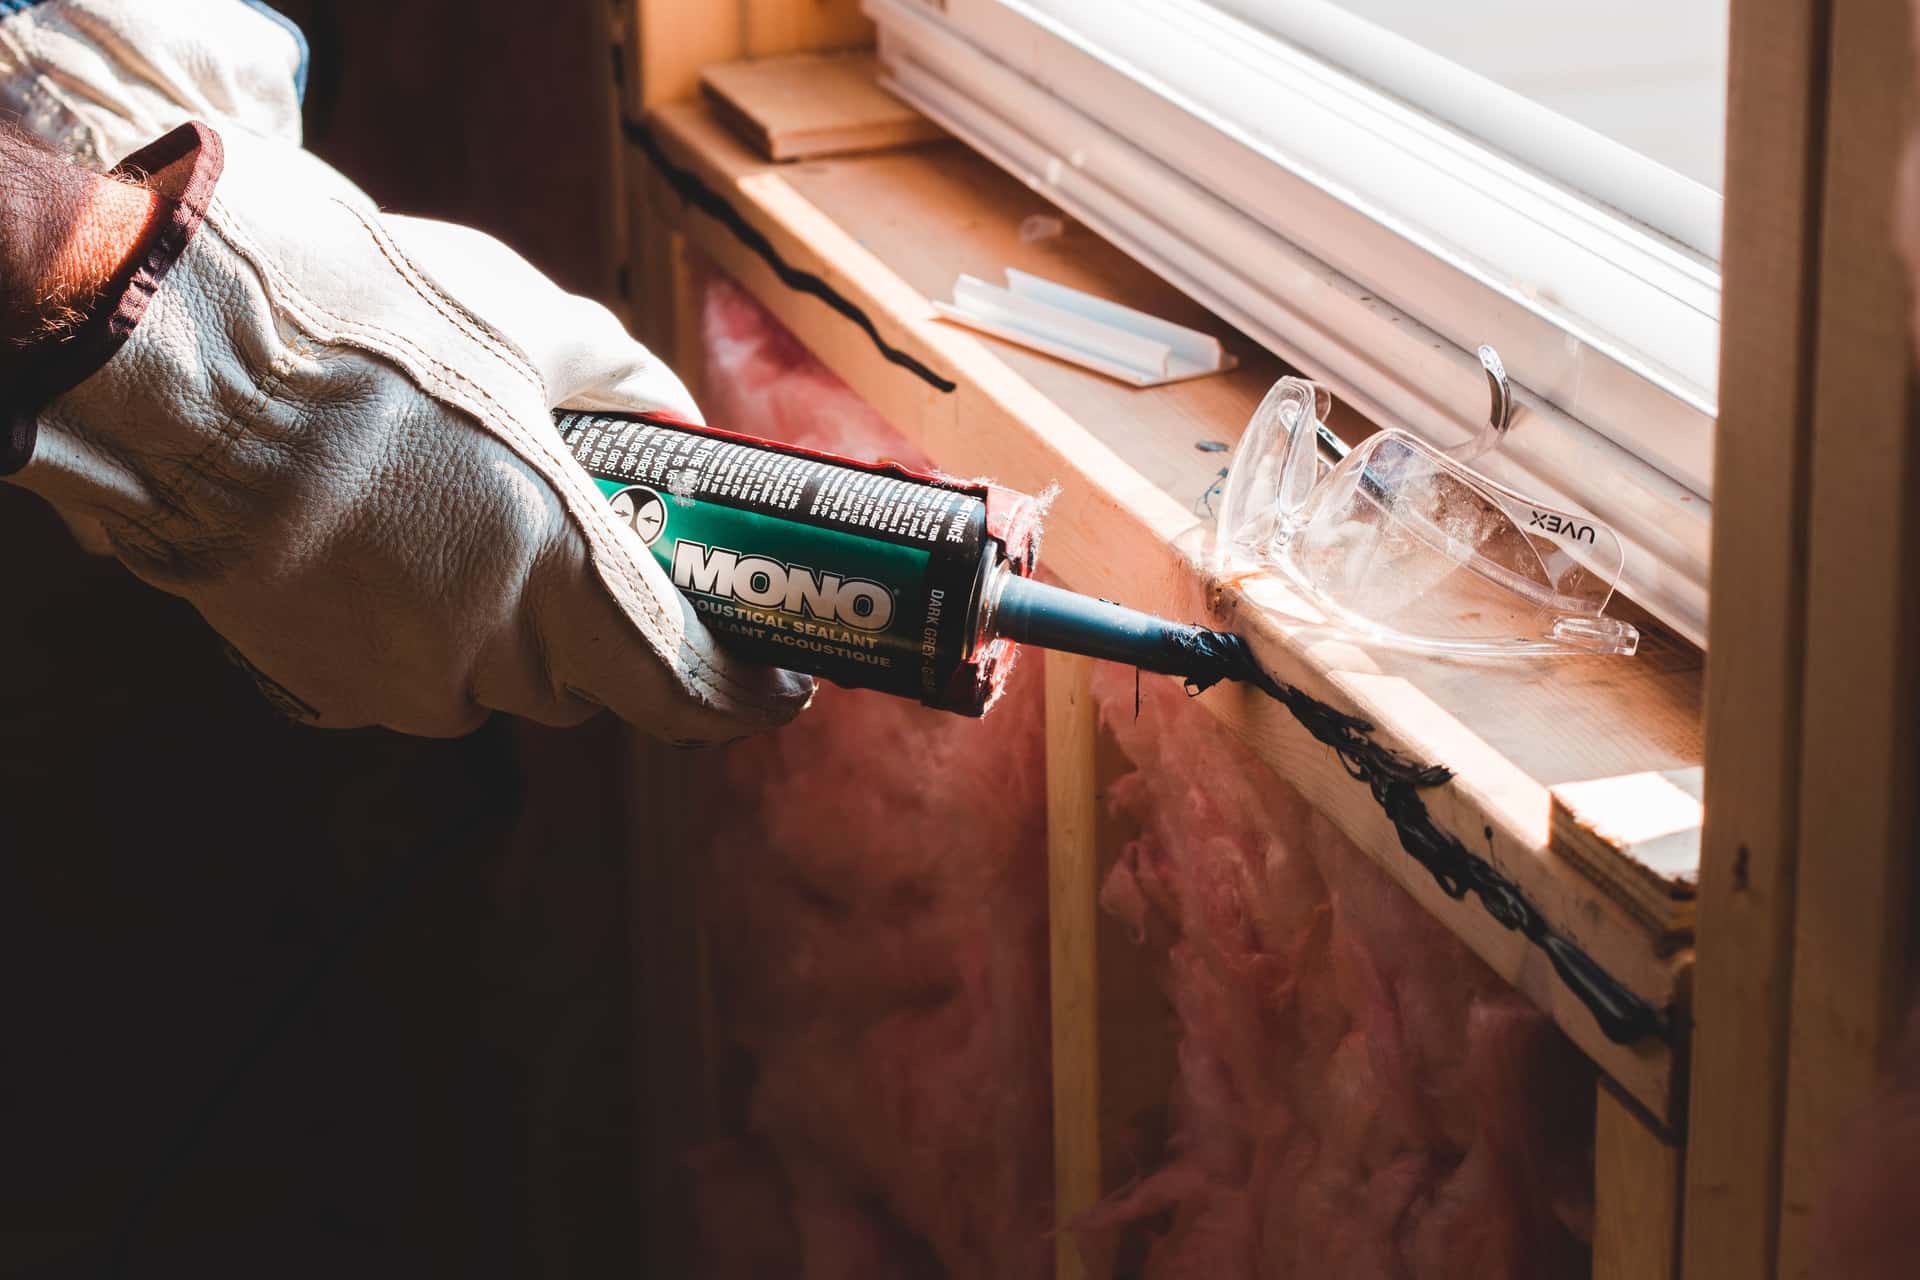
Seams come last because they are the flexible part of the system, and because a bead of silicone is also what hides the edge of a panel coating. Run it into every internal corner and along every panel junction, tool it with a wet finger or a tool so there is no lip for substrate to collect under, and keep it off the glass viewing area.
One product rule applies absolutely here: 100% silicone with no mildewcide, fungicide or antimicrobial additive. General-purpose bathroom silicone usually contains a biocide whose entire purpose is to kill microorganisms on the sealed surface - a feature in a shower and a deliberate introduction of a biocide inside a sealed box with an animal in it. Check the tube rather than the aisle it was in. The absence of any added biocide is one of the published criteria we score materials against on this site.
The seam layer
100% RTV Silicone Sealant (aquarium grade)
100% RTV silicone, aquarium grade, with no mildewcide - the only sealant that belongs in an enclosure seam, and also what bonds background foam.
Stage 4 - cure, which is the stage people skip
Dry to the touch is not cured. Cured means the chemistry has finished and there is nothing left to off-gas. The clock starts at your last application, runs for the longest full-cure figure of any product you used, and is extended rather than shortened by a cold room.
| Stage | What you are waiting for | Before moving on |
|---|---|---|
| Adhesive in the joinery | Structural cure of the wood glue | Manufacturer clamp and cure time, in full |
| Panel epoxy, coat 1 | The recoat window, not the full cure | As the manufacturer states for recoating |
| Panel epoxy, final coat | Full cure - Pond Armor states up to 7 days | Do not apply silicone over uncured epoxy |
| Silicone seams | Acetic acid smell completely gone | Typically several days; smell is the test |
| Final airing | No detectable smell with the heat running | Run the enclosure empty, lamps on, 48 hours |
That last row is the one we would add to every build guide if we could. Run the finished enclosure empty with the heat and lamps on for two days before the animal goes in. Heat drives off whatever is left, and it does it while the enclosure is empty rather than while the animal is breathing it. If you can still smell anything at the end of that, it is not finished - and no amount of ventilation afterwards makes a part-cured coating safe.
By material
Plywood or solid wood. The full system above. Wood is porous, it moves with humidity and it will rot if you run a humid species in an unsealed box, so this is the case the system was designed for.
PVC. Panels do not need sealing - PVC is already non-porous, which is most of why it is used. What needs sealing is the seams, so you skip stage 2 entirely and go prep, seams, cure. Do not epoxy a PVC enclosure interior; you are adding a coating that can fail to a surface that cannot.
Melamine or coated board. The faces are sealed and the edges are not, which is where water gets in and swells the core. Seal every cut edge and every screw penetration, then do the seams.
Glass. Nothing to seal but the silicone joints the manufacturer already made. If one has failed, strip it back to clean glass and re-run it - do not bead new silicone over old.
Building from scratch rather than sealing something you bought? The construction side is in how to build a reptile enclosure, and the material safety evidence behind all of this is in reptile enclosure materials.
Frequently asked questions
What order do you seal a reptile enclosure in?
Prep (sand and dust), then the panel coating on the flat surfaces, then 100% silicone in the seams, then the full cure. Silicone goes last because it is the flexible layer and because it hides the edge of the panel coating - coating over silicone ruins both.
How long should sealant cure before a reptile goes in?
The longest full-cure figure of any product you used, measured from your last application - for the Pond Armor epoxy that is up to 7 days. Then run the enclosure empty with the heat and lamps on for 48 hours. If you can smell anything at all, wait longer.
Do I need to seal a PVC reptile enclosure?
Only the seams. PVC panels are already non-porous, so there is nothing for a coating to improve and a coating is one more thing that can fail. Run 100% silicone into the corners and panel junctions and skip the epoxy.
What sealant is safe for reptiles?
100% RTV silicone with no mildewcide for seams, and a two-part epoxy with a published service temperature above your basking figure for panels. The product detail is on non-toxic sealants.
How do you seal foam in a reptile enclosure?
Bond it with 100% silicone rather than construction adhesive, then encapsulate it completely - silicone pressed with coco fibre, or an epoxy skim if it will be wet. Bare foam is porous and cannot be cleaned, so no part of it should stay exposed.
Sources
- Pond Shield Non-Toxic Epoxy product information — Pond Armor
- Volatile Organic Compounds' Impact on Indoor Air Quality — U.S. Environmental Protection Agency
- Bearded Dragon Temperatures & UVB Requirements — ReptiFiles
- UL GREENGUARD Gold Certification — chemical emissions criteria — UL Solutions
- ASTM D4236 — Standard Practice for Labeling Art Materials for Chronic Health Hazards — ASTM International
Read next
Hub
Reptile substrate and enclosure material safety
What the enclosure is made of, sealed with and floored with. This is the part of reptile keeping with the most confident advice and the least cited evidence.
Substrate & safety
Reptile enclosure backgrounds
How to build a reptile enclosure background safely - the four routes, the materials that are accountable, and the gap behind it that is the real hazard.
Substrate & safety
Non-toxic sealant for a reptile enclosure
Which sealants to use, the mildewcide rule, and the cure times that have to be respected.
Substrate & safety
Non-toxic glue for a reptile enclosure
Which adhesives to use for wood, backgrounds and seams, and which to avoid.
Substrate & safety
Safe wood for a reptile enclosure
Which sheet goods and which timbers are safe inside an enclosure, and the sealing and cure steps that decide it.
Substrate & safety
Is PVC safe for reptiles? Enclosure material safety
What to check on enclosure materials, and why the coatings matter more than the panel.