Guides
How to set up a reptile enclosure, in order
The enclosure should run empty for days before anything lives in it. Almost every setup problem we are asked about is a sequence problem wearing an equipment costume.
By Brijon M.Last updated
Set up a reptile enclosure in this order: place and level the enclosure, install any sealant or background and let it fully cure, add substrate at the published depth, mount the heat source on a thermostat, mount the UVB lamp at its published distance, add hides and cover, then run the whole thing empty for three days while you log temperatures. The animal goes in only after the readings hold.
Shed & Bask earns a commission from qualifying Amazon purchases made through links on this page. It does not change what we recommend or the order we rank things in. Read the full disclosure.
Why order matters more than equipment
A setup assembled in the wrong order forces you to undo things. Substrate before sealant cure means pulling the substrate out. Lamp before hardscape means re-measuring the distance after the basking rock changes the height. Animal before the temperature log means you are tuning a live enclosure, which is the one situation where a mistake has a cost beyond money.
So the sequence below is the one we use, and the waits in it are not padding. Every one of them exists because something has to finish before the next step can be measured.
Step 1 - Place and level the enclosure
Before anything goes in it, decide where it lives. Out of direct sunlight, because a glass enclosure in a sunbeam becomes an oven that no thermostat can correct. Off the floor, where the room is coldest and draughtiest. Away from a heating or air-conditioning vent, which is a temperature source your thermostat cannot see. And on something that will hold the weight: a 48 x 24 x 24 in enclosure with 4 in of substrate and a water dish is heavy, which is why enclosure stands are worth getting right.
Level it. An unlevel enclosure pools water at one end, which is where scale rot and substrate mold start.
Step 2 - Sealing, backgrounds and the full cure
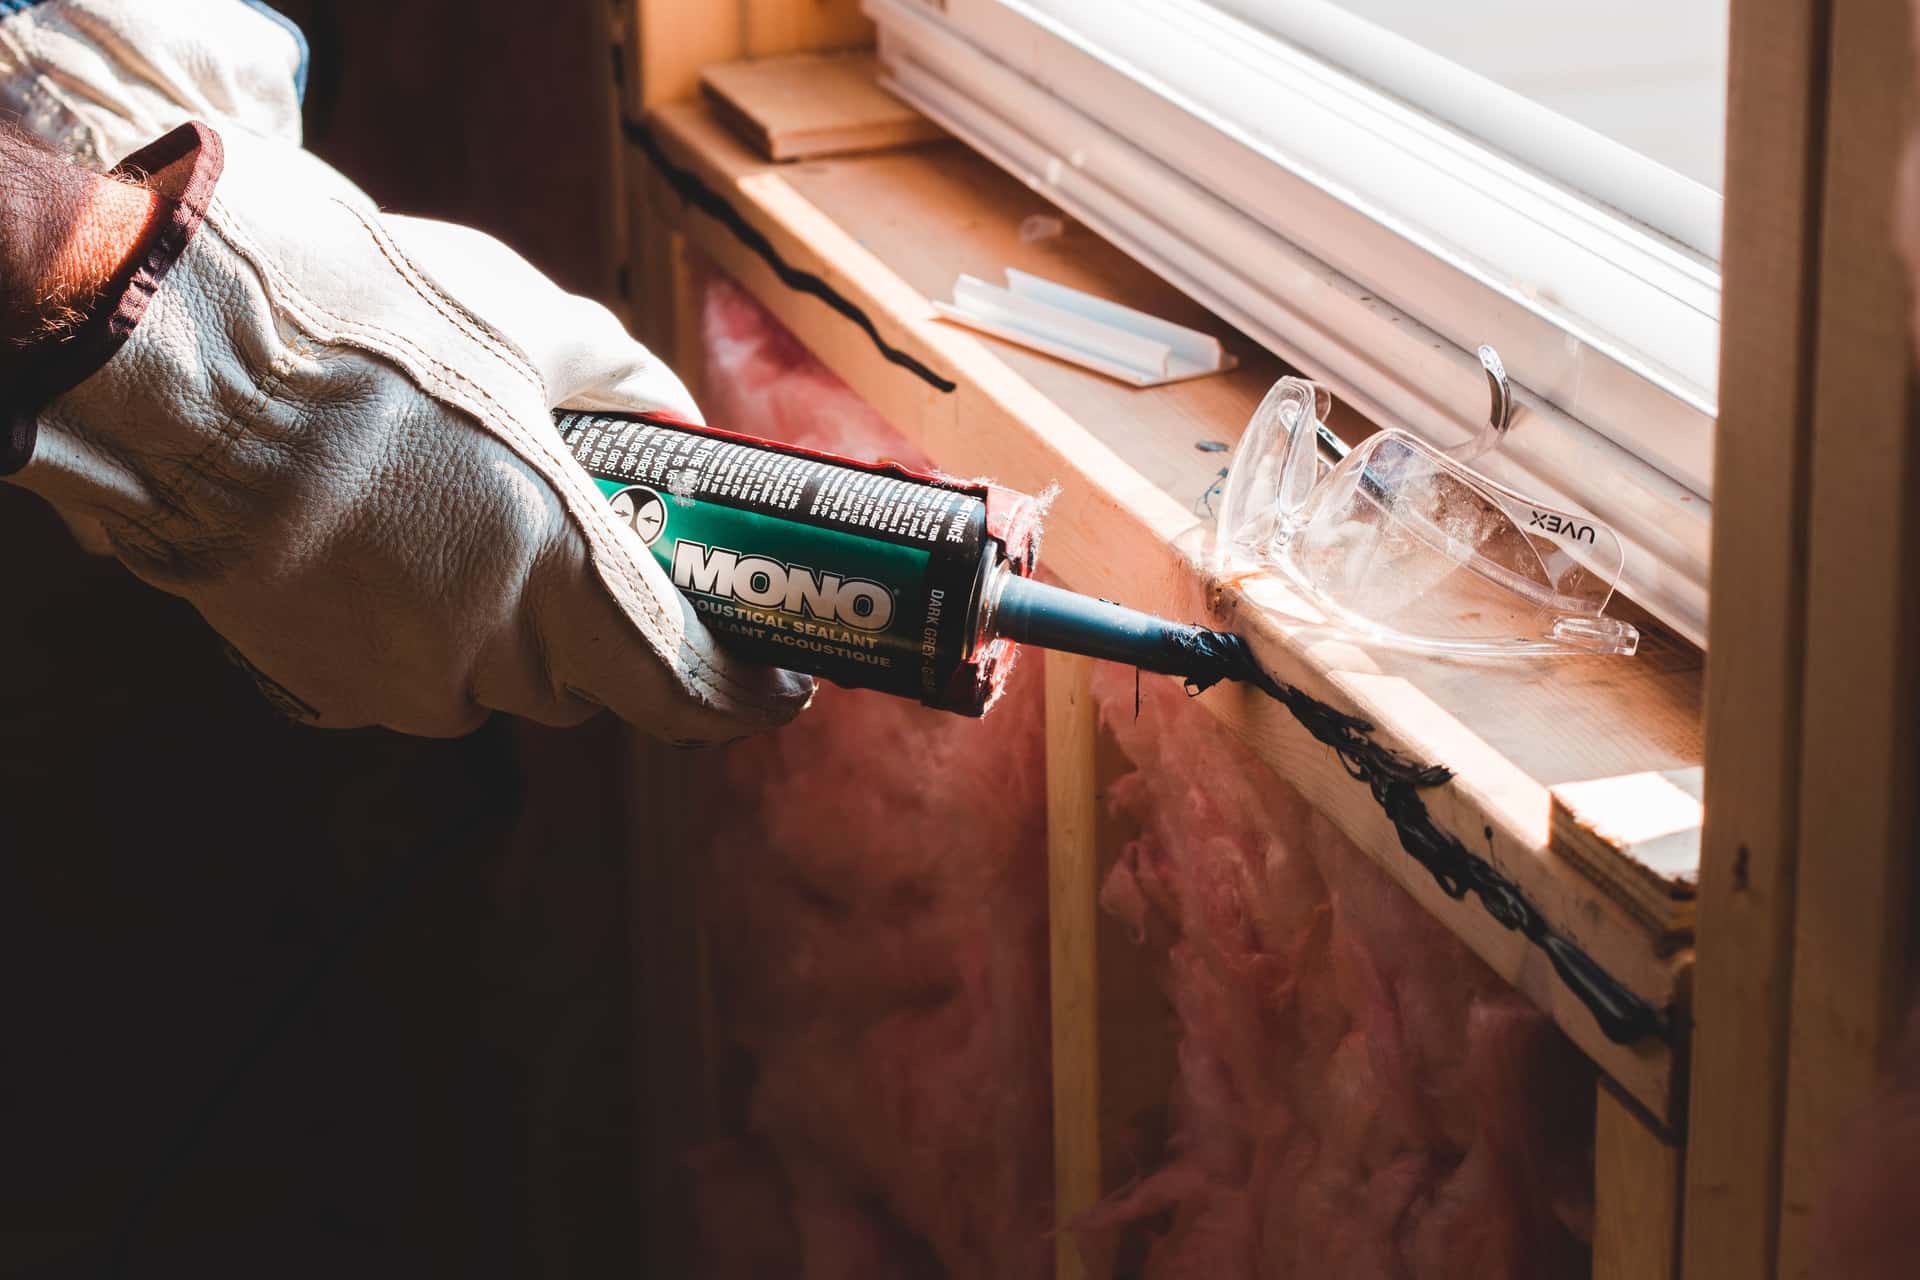
If you are sealing a wooden interior, siliconing seams or foaming in a background, this is the step with the longest wait and the one people shorten. Use the published full cure time, not the dry-to-touch time, and ventilate the room while it cures. Our non-toxic sealants page lists the figures product by product, and reptile-safe paint covers the same question for coatings.
Step 3 - Substrate, at the published depth
Depth is a figure, not a preference. For a burrowing species that is a 4-6 in packed layer per the substrate guidance, which is a surprisingly large quantity - budget for it. Pack it rather than fluffing it; a loose layer will not hold a burrow and a burrow that collapses is the thing you were buying depth for.
Match the material to the species moisture target: 30-40% ambient, with a humid hide at 70-80% for a leopard gecko, 60-80%, allowed to dry back to 40-50% between mistings for a crested gecko, and 30-60% ambient average for a bearded dragon. The substrate roundup and substrate depth have the detail.
Step 4 - Heat, on a thermostat, before anything else electrical
Install the heat source and its controller together. There is no stage of this process where an uncontrolled heat source is acceptable, including the testing stage - an enclosure running empty at 140 F is a fire question, not a husbandry one. Match the controller type to the heat source: dimming or proportional for a light-emitting lamp, on/off only for a lightless emitter. How thermostats work explains why, and heat lamp fire safety covers the failure modes.
Place the probe where the figure is stated. A basking surface figure is measured at the surface; a warm hide figure is measured inside the hide. A probe dangling in mid-air is measuring something nobody published a number for.
Step 5 - UVB, mounted to a published distance
Build the hardscape first, then mount the lamp, because the distance is measured from where the animal will actually sit. A bearded dragon needs UVI 4.0-4.5 at the basking surface at the basking surface, which for a 12% T5 lamp means about 11 in through mesh. A crested gecko needs UVI 1.0-2.0 at the basking branch at the basking branch. Those are different numbers for different lamps - UVB distance and Ferguson zones has them all.
Put both lamps on a timer at the published photoperiod. Write the UVB install date on the tube in marker, because the replacement interval is 12 months and you will not remember.
Step 6 - Hides, cover and water
Three hides minimum - warm, cool, humid - and cover breaking every open run. Stand at the front and look through the enclosure at floor level; if you can see straight through it, it is not furnished. Water dish at the cool end, where it will not evaporate into the basking zone and lift ambient humidity above the species range.
Step 7 - Run it empty for three days, and log it
This is the step that separates a setup that works from one you spend a month adjusting. With everything installed and on its timer, take readings twice a day for three days: basking surface temperature, cool end temperature, ambient humidity, and the overnight low. You are looking for the figures to hold across a full day-night cycle without intervention.
If the cool end never gets cool, the enclosure is too short or the lamp is too strong. If humidity drifts outside the range, fix it structurally now - how to increase humidity and enclosure ventilation both cover the levers. If the overnight low undershoots, you need ambient night heat, not a brighter day lamp. All three of those are easier to fix in an empty box.
Step 4 is not optional
Spyder Robotics Herpstat 1 Proportional Thermostat
A proportional thermostat with high and low alarms, so a probe failure announces itself instead of being discovered through the animal.
What step 7 is measured with
Infrared Temperature Gun
Basking figures are surface temperatures, and a point-and-read gun is how you check a surface rather than the air above it.
Once the readings hold for three days, the enclosure is ready. Species-specific checklists pick up from here: bearded dragon, leopard gecko, ball python and crested gecko.
Four maintenance pages pick up where this build order stops. What temperature should a reptile enclosure be puts every species figure in one table, how to keep a reptile enclosure warm covers cold rooms, winter and power cuts, how to clean a reptile enclosure sets the three cleaning routines, and if the enclosure is a build rather than a purchase, how to seal a reptile enclosure is the layer order and the cure clock that has to finish first.
Frequently asked questions
How long should a reptile enclosure run before the animal goes in?
Three days of twice-daily readings with everything on its timer, longer if you applied a sealant, paint or adhesive - in that case the manufacturer's full cure time comes first and the three-day test starts after it.
What goes in a reptile enclosure first?
Position and leveling, then any sealing or background work and its full cure, then substrate, then heat on a thermostat, then UVB mounted to the finished hardscape, then hides and cover. Equipment before decor, and decor before the animal.
Do you install the UVB lamp before or after the hardscape?
After. The published mount distance is measured from the basking surface or branch, so the hardscape has to be final before the distance means anything. Building the rock work afterwards is how a correctly-bought lamp ends up at the wrong height.
What is the most common reptile setup mistake?
Running a heat source without a thermostat, closely followed by mounting UVB at a guessed distance. Both are sequence failures rather than budget failures - beginner setup mistakes ranks them by what they cost.
Sources
- Bearded Dragon Substrate Options — ReptiFiles
- Bearded Dragon Temperatures & UVB Requirements — ReptiFiles
- Pond Shield Non-Toxic Epoxy product information — Pond Armor
- Heating equipment and home fire safety — National Fire Protection Association
Read next
Hub
Reptile enclosure guides and comparisons
The cross-species decisions: what material to buy, how big it has to be, whether to build it yourself, and which beginner mistakes are expensive.

Guides
9 beginner reptile setup mistakes that cost the most
The nine setup mistakes that cost beginners the most, and what to buy instead in what order.
Guides
4 best reptile enclosures for beginners (2026)
Beginner enclosures judged on whether they are already adult-sized, and on how little daily intervention they need.
Guides
Types of reptile enclosures
The six enclosure form factors compared on humidity, lamp mounting and which species each one suits.
Substrate & safety
Non-toxic sealant for a reptile enclosure
Which sealants to use, the mildewcide rule, and the cure times that have to be respected.
Lighting & heat
How reptile thermostats work
On/off, pulse and dimming control explained, and which heat source each suits.