Guides
How to build a reptile enclosure
The carpentry is the easy part. What decides whether a home-built enclosure is safe is the interior surface and the cure time - and cure time is measured in days, not hours.
By Brijon M.Last updated
Build in this order: size the box from the published species minimum, cut and join the carcass with a waterproof PVA wood glue plus mechanical fixings, waterproof the interior with a non-toxic epoxy coating, seal the seams with 100% silicone containing no mildewcide, fit ventilation and front-opening doors, then leave it to cure fully - up to 7 days for epoxy - before anything goes in.
Shed & Bask earns a commission from qualifying Amazon purchases made through links on this page. It does not change what we recommend or the order we rank things in. Read the full disclosure.
Step 1: decide the size before you buy a single sheet
The dimension comes from the published species minimum, not from the sheet size that cuts most conveniently. A bearded dragon needs 48 x 24 x 24 in as a floor and 6 ft L x 2 ft W x 2 ft H (1.8 x 0.6 x 0.6 m), or 24 cubic feet of internal volume as the target for a full-size adult. A ball python needs about 8 sq ft of floor and an enclosure at least as long as the snake. A crested gecko needs 18 x 18 x 36 in for juveniles and adults over 12 g, where height is the constraint. The size chart has every figure with its source.
Building your own is the one route where going larger costs almost nothing extra, so this is the moment to build to the target rather than the floor.
Step 2: choose the carcass material honestly
Plywood and melamine-faced board are the usual home-build materials and both work, provided you accept that the raw surface is not the finished surface. Bare wood absorbs moisture, swells, and harbours bacteria, so a wooden enclosure that has not been sealed on the inside is unfinished rather than cheap. PVC sheet does not need sealing, costs more, and cannot be glued with wood glue - the comparison is on PVC vs glass vs wood.
Step 3: join the structure, then seal it separately
Glue the structural joints and let the sealing coat be a separate operation. That order matters: the glue line should end up underneath the sealed surface, never exposed inside the enclosure. A waterproof PVA wood glue is the right class here precisely because it is water clean-up with no solvent exposure during the build, and because the joint will be covered afterwards. Clamp it, let it cure, and use mechanical fixings for anything that carries weight - glue is not a structural fastener.
Step 4: the interior coating, which is the safety-critical step
This is where a home build is won or lost. The interior surface is what the animal touches, what gets warmed at one end to a basking surface temperature, and what off-gasses if it was the wrong product. Two things have to be true of whatever you use: a published temperature limit above your species basking surface figure, and a published full cure time that you actually wait out.
| Option | Stated service range | Cure | Use when |
|---|---|---|---|
| Non-toxic pond epoxy | -78 F to 140 F | 24-48 h dry, up to 7 days full cure | A wooden interior that will be misted or get wet |
| Low-VOC water-based acrylic sealer | Check the product's stated limit | Manufacturer's full cure, not dry-to-touch | A dry setup where nothing is submerged |
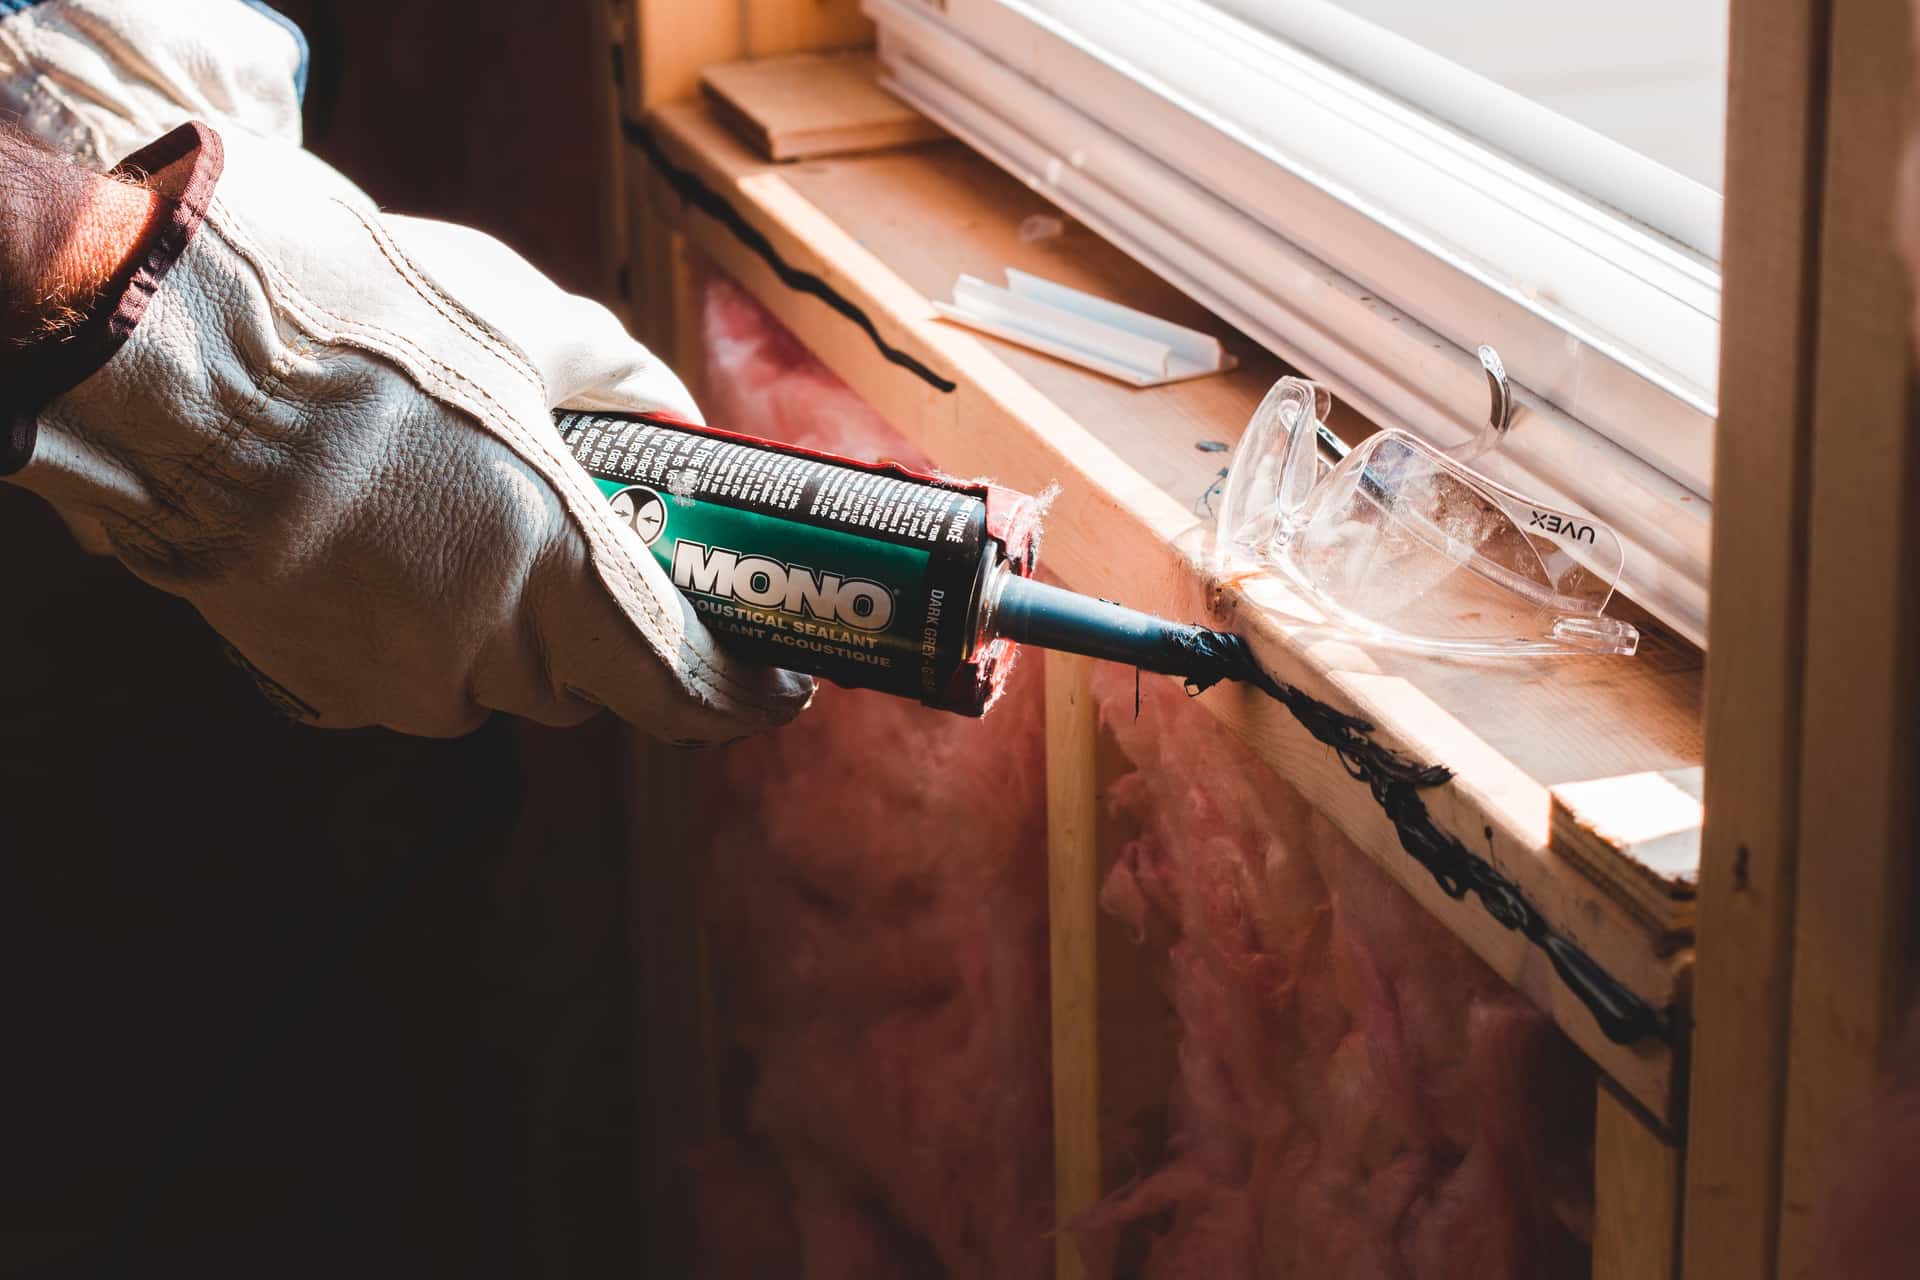
| 100% RTV silicone (seams only) | Not a surface coating | Ventilate until the acetic smell is gone | Sealing seams and bonding background foam |
Step 5: ventilation and doors
Ventilation is a design decision, not an afterthought, and it trades directly against humidity: a tropical build needs cross-flow low on one side and high on the other, while a desert build can carry much more open area. We go through the trade in reptile enclosure ventilation. Doors should open at the front, which every care reference we cite prefers over reaching in from above, and anything housing a snake needs a lock that works.
Step 6: the cure, which is the step people skip
Nothing goes in until every product in the build has completed its published full cure. For an epoxy coating that can be up to 7 days. For silicone, until the acetic acid smell is completely gone, with the enclosure ventilated the whole time. Running the heat lamps during the cure, with the enclosure empty and the room ventilated, is a reasonable way to drive off residual solvent before an animal is anywhere near it.
Step 7: fit the control layer, then verify it
A built enclosure is not a setup. It needs a thermostat on every heat source, a UVB lamp at the output class your species requires, a surface thermometer to set the basking spot to a stated figure, and a probe hygrometer if you are holding a humidity range. Verify with readings before the animal goes in, not after. Thermostats, UVB bulbs and meters each have their own page.
Should you build at all?
Build if you need a size the market does not sell, you already own the tools, and you can give up a week to cure time. Buy if you want the enclosure in use this weekend. We costed both honestly in build vs buy, and if cost is the whole question, the cheapest enclosures that still pass is the shorter route.
Step 3: the structural joints
Titebond III Ultimate Wood Glue
A waterproof PVA wood glue suits a humid build, cleans up with water so there is no solvent exposure during the build, and ends up sealed over rather than exposed.
Step 4: waterproofing a wooden interior
Pond Armor Pond Shield Non-Toxic Epoxy
Stated service range of -78 F to 140 F, which clears a dragon basking surface at 108-113 F with margin. Full cure runs to about 7 days and nothing goes in before it finishes.
Step 4: the seams
100% RTV Silicone Sealant (aquarium grade)
100% RTV silicone with no mildewcide or antimicrobial additive. Flexible enough to survive panel movement, inert once fully cured.
Step 4 alternative: a dry build
Low-VOC Water-Based Acrylic Sealer
Low-VOC water-based chemistry keeps application exposure far lower. Check the product's own stated temperature limit against your species basking figure before you commit.
Frequently asked questions
What is the safest wood for a reptile enclosure?
Any stable sheet good - plywood or melamine-faced board - provided the interior is sealed with a product that has a published temperature limit above your species basking surface figure. Avoid aromatic softwoods such as cedar and pine. The material detail is on enclosure materials.
How long should a DIY reptile enclosure cure before the animal goes in?
Until every product in the build has completed its published full cure, which for a pond epoxy can be up to 7 days and for silicone means waiting until the acetic acid smell is completely gone. Dry-to-touch is not cured.
What silicone is safe for a reptile enclosure?
100% RTV silicone with no mildewcide, fungicide or antimicrobial additive. That rules out most kitchen and bath tubes. It must be fully cured and vented before an animal is near it, because uncured silicone off-gasses acetic acid.
Is building a reptile enclosure cheaper than buying one?
Sometimes, on material cost alone, and less often once you add the interior coating, sealant, hardware and a week of cure time. If cost is the only driver, compare against the cheapest enclosures that still meet the published minimum first.
Sources
- Pond Shield Non-Toxic Epoxy product information — Pond Armor
- Volatile Organic Compounds' Impact on Indoor Air Quality — U.S. Environmental Protection Agency
- UL GREENGUARD Gold Certification — chemical emissions criteria — UL Solutions
- Bearded Dragon Terrarium Size Requirements — ReptiFiles
Read next
Hub
Reptile enclosure guides and comparisons
The cross-species decisions: what material to buy, how big it has to be, whether to build it yourself, and which beginner mistakes are expensive.
Guides
Building vs buying a reptile enclosure
When building your own enclosure is the right call, and the costs DIY comparisons leave out.
Guides
Reptile enclosure ventilation
How much ventilation an enclosure needs, where to place it for cross-flow, and the failures at each extreme.
Guides
PVC vs glass vs wood reptile enclosures
Material comparison on weight, humidity, heat behavior and off-gassing, with a per-species verdict.
Substrate & safety
Non-toxic sealant for a reptile enclosure
Which sealants to use, the mildewcide rule, and the cure times that have to be respected.
Substrate & safety
Is PVC safe for reptiles? Enclosure material safety
What to check on enclosure materials, and why the coatings matter more than the panel.